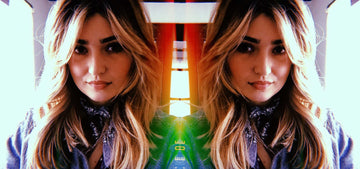
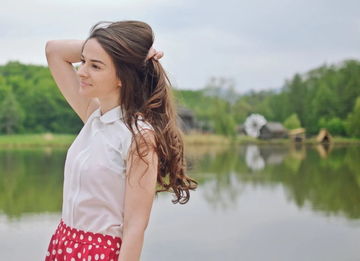
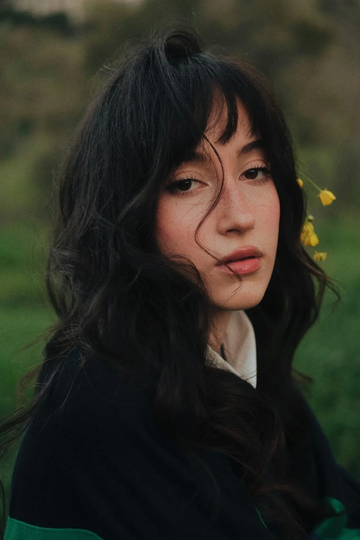
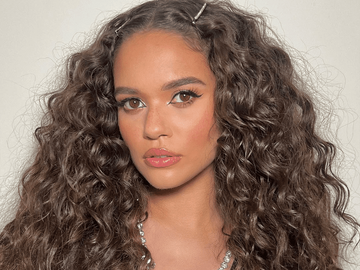
2019 is all about bobs, bangs, and layers. In this series, we will break down how to rock them in 2019 versus repeating the way they were worn in the past. This week we’re talking about ‘70s curtain bangs paired with long layers. Most styles are inspired from the past but evolve into a look that is new and exciting. We love to break down the style differences to help you effortlessly create the new inspired style! (Video at the end)
‘70s Do’s
- Curtain swag starting at the root not all over curling the ends
- The face frame is controlled and the volume comes from the rest of the style (created by layers or curls)
- Controlled curl less curl at the ends
- Shine in hair
- Heavy layers throughout not just in the face frame
- Softness in the look
- Curl focused mainly on the ends this was created mostly with hot rollers
- Brushing back horizontally on the hair this created the feathered look
- Extremely heavy layers around the face and fewer layers in the back and sides
- Dull and tattered texture
Curtain Bang Styling Tips
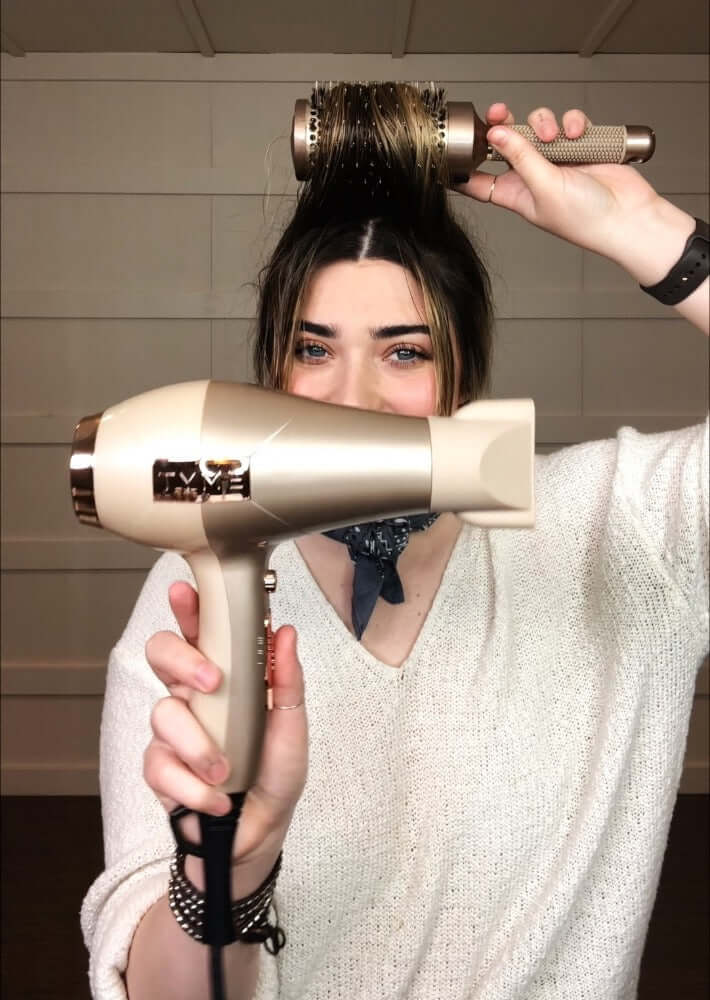
1. Gather fringe from either side and lift them with your round brush, pulling them straight up above your head. This brush placement will help you get volume!

2. Direct the air flow to the furthest part of the brush from the scalp (just past the biggest part of the curve) to achieve maximum volume and bend! Make sure the concentrator is lined up parallel with your brush to maximize the airflow.

3. Blow-dry your bangs to each side of your part to create the swoop back “swag” of the curtain look. If the shape doesn’t last, utilize the cool shot on your blow dryer to cool the heated section to solidify shape! Where hair cools is where it stays ;)
Long Layer Styling Tips

4. Start with dry hair: *make sure you understand how to blow dry so you can keep the shine in your hair.* (Click here for blow-dry hacks) This will ensure that you are keeping your hair healthy and maintaining the softness in the look when you curl.
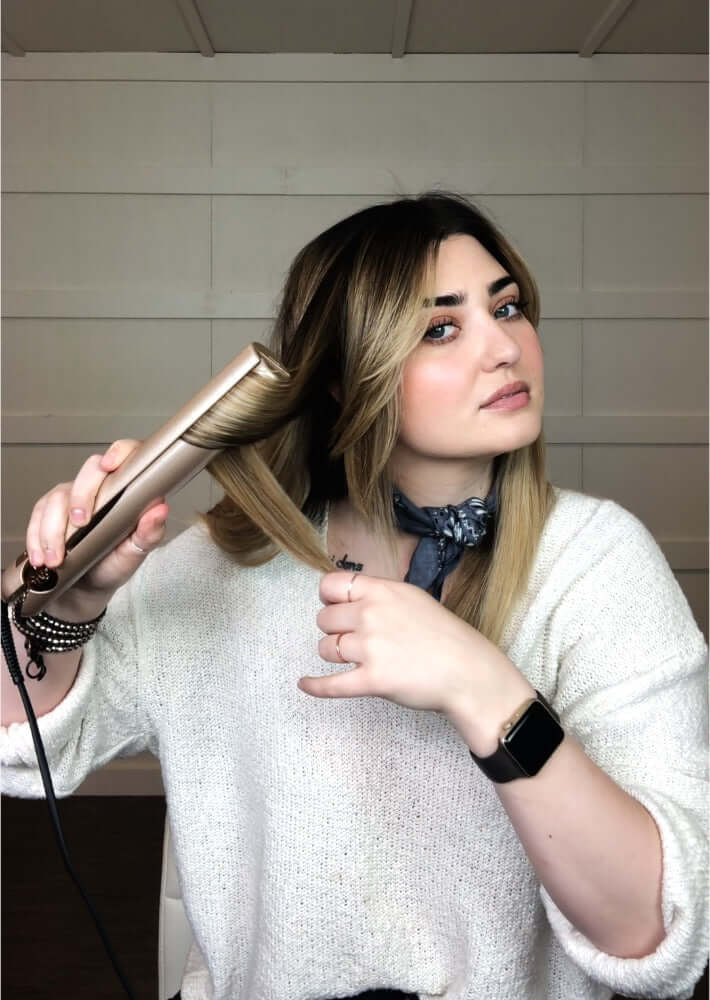
5. The ‘70s style was mostly created by rolling the hair back with either an iron or a roller set. We are creating a “lean back curl” for this style, so it will be an open curl, creating a lot of movement. (Click here to learn how to create lean back curls)

6. Curling from top to bottom of the hair strand with the TYME Iron allows you to control the look of the curl, and you don’t have to compensate for layers in the same way as when we were curling from the bottom up. Take big sections, and allow your curl to cool in place and drop down the ends of the curl so they don’t wing out.

7. For added volume and a more defined look, you can shape the heavily layered pieces. Making sure to draw down the ends to avoid the feathered look!
Finishing Touches

- Lift hair and spray volumizing powder throughout the style to keep the volume and separation in the hair
- Massage the product throughout to distribute the product and disturb the look

- Pinch the center part above the eyebrows and close to the scalp to set in the shape by spraying with SelfieTYME. Hold the shape until the hairspray is either dry or close to it! Where hairspray dries is where it stays ;)
- Spray SelfieTYME as needed to solidify the shape and keep the style in place
For more tips and hair tutorials, follow us on Facebook, Instagram, YouTube, and Pinterest.

